Reinsulating your home isn’t just about cutting energy costs—it’s about making your space cozier, quieter, and more energy-efficient. If you’re dealing with drafty rooms, high energy bills, or simply want a more comfortable living space, upgrading your insulation can make a big difference. This guide breaks down the costs of reinsulating a house and walks you through the process so you can confidently tackle it.
Why Reinsulating A House is Worth the Investment
If your home feels chilly in the winter and too hot in the summer, your insulation probably isn’t doing its job. Many older homes have insulation that’s outdated, thin, or poorly installed—leading to uncomfortable indoor temperatures, increased noise transfer between rooms, and wasted energy. Reinsulating is a smart, straightforward way to solve these problems, making your home more comfortable and efficient year-round.
More and more homeowners are opting for insulation that truly performs—and that’s safer and better for the planet. That’s why recycled denim insulation is becoming a top choice. It helps keep your home cozy and quiet, not only reducing outside noise but also limiting sound between interior walls. Plus, because it’s made from recycled materials, it’s an eco-friendly upgrade you can feel good about.
Now, let’s take a closer look at what reinsulating your home will cost—and how to get it done.
The Cost of Reinsulating a House
Reinsulating your home is an investment, but the payoff—lower energy bills, better comfort, and improved indoor air quality—makes it well worth it. Costs depend on factors like the material you choose, labor costs, and the size of your home. Here’s what to expect.
Breaking Down Material Costs
Insulation costs vary based on the type of material, how much you need, and whether you plan to DIY or hire a pro. Here’s a breakdown of common insulation options:
-
- Fiberglass: Budget-friendly at $0.30–$1.30 per square foot, but not the best for soundproofing and requires protective gear during installation.
-
- Spray Foam: Expands to fill gaps and provides an airtight seal for $1.00–$4.50 per square foot but is pricier and needs professional installation.
-
- Cellulose: Made from recycled paper, costs $0.50–$1.70 per square foot, and offers solid thermal performance.
-
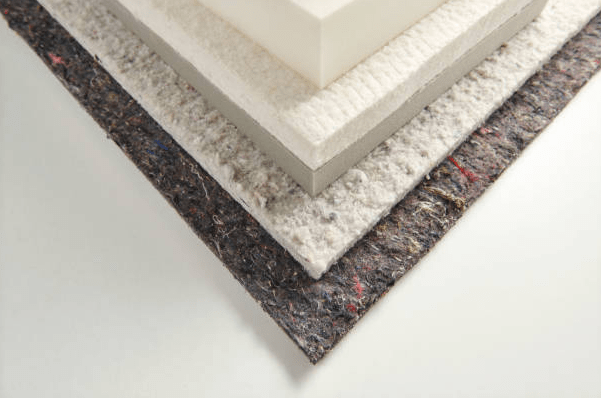
- Recycled Denim Batt Insulation: At $1.50–$3.00 per square foot, this eco-friendly insulation offers excellent soundproofing, long-lasting performance, and a soft, safe-to-touch surface. It’s also easy to install, making it perfect for DIYers.
Additional Factors Influencing Cost
Beyond material costs, here are a few things that can affect your total budget:
- Home Size: Larger homes need more insulation, increasing both material and labor costs.
- Existing Insulation Condition: Removing old insulation can add $1.00–$3.00 per square foot.
- Drywall Removal and Replacement: Opening walls to install Quiet Denim insulation adds extra material and labor costs for removing, reinstalling and finishing drywall.
- Hard-to-Reach Areas: Vaulted ceilings, crawl spaces, and tight corners may require extra labor and equipment.
- R-Value Needs: Higher R-value insulation boosts efficiency but may require thicker materials.
Now that you have a sense of costs, let’s go step by step through the process of reinsulating your home.
How to Reinsulate a House

Reinsulating might sound like a big job, but with the right approach and materials, it’s totally doable—and the payoff is huge.
Step 1: Remove the Drywall
Start by turning off power to the room and removing any outlet covers, switch plates, and trim. Use a utility knife to score along the edges of the drywall, then carefully pry the panels away from the studs. Work slowly to avoid damaging the framing or electrical wiring.
Step 2: Assess Your Current Insulation
Look for Gaps or Settling:
If your insulation is compressed, missing in places, or uneven, it’s time for an upgrade.
Use a Thermal Camera:
This helps spot cold spots where heat is escaping.
Watch for Moisture Damage:
Damp or moldy insulation is ineffective and can lead to bigger problems down the road.
Step 3: Choose the Right Insulation
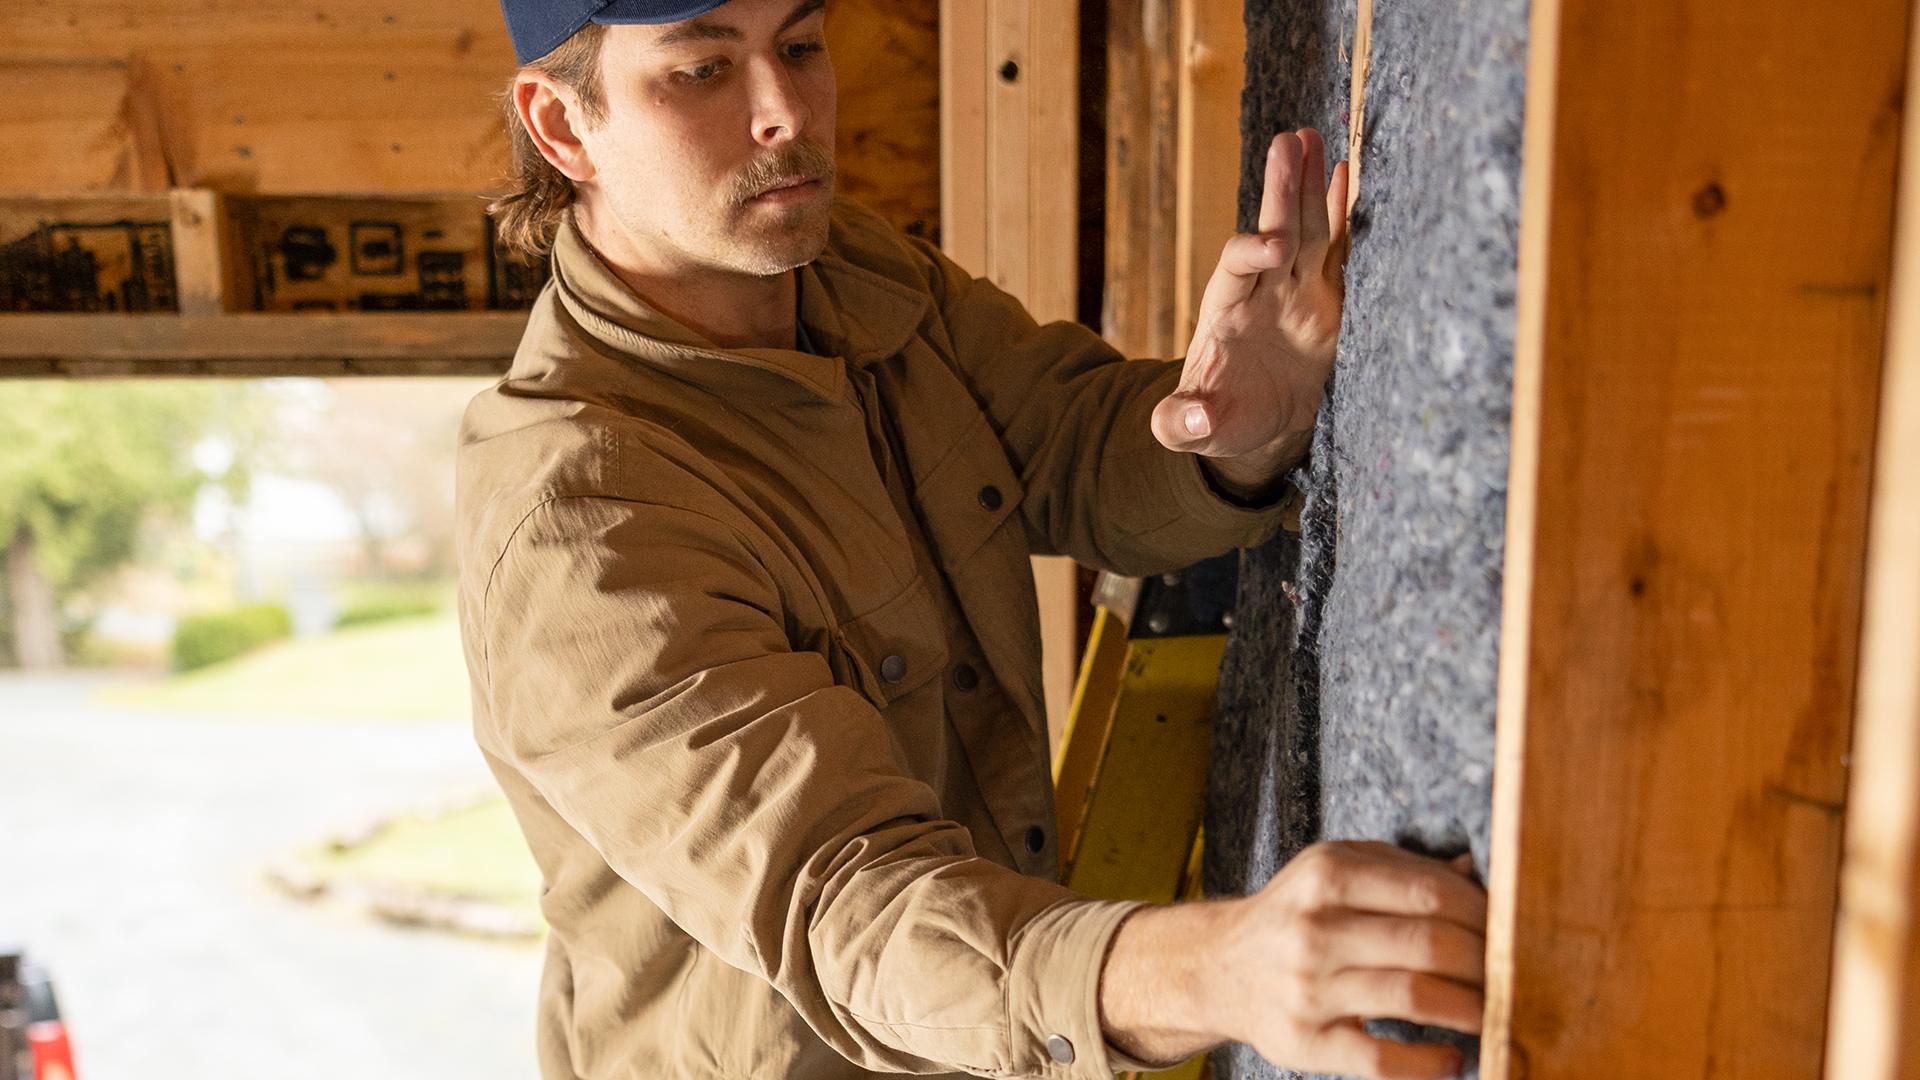
The best insulation balances performance, cost, and eco-friendliness. Quiet Denim Insulation is a standout choice—it’s soft to the touch, has excellent soundproofing, and is easy to handle.
Step 4: Plan for Installation
Decide whether you want to DIY or hire professionals. Quiet Denim’s friction-fit design makes it easy to install, ensuring a tight seal that prevents air leaks.
Step 5: Install the Insulation
-
- Prep the Space: Clear debris, remove any damaged insulation, and check for moisture issues.
-
- Follow the Instructions: Proper placement and sealing make a huge difference in performance.
-
- Focus on Key Areas: Attics, walls, and basements are the best places to upgrade insulation for maximum impact.
Step 6: Reinstall the Drywall
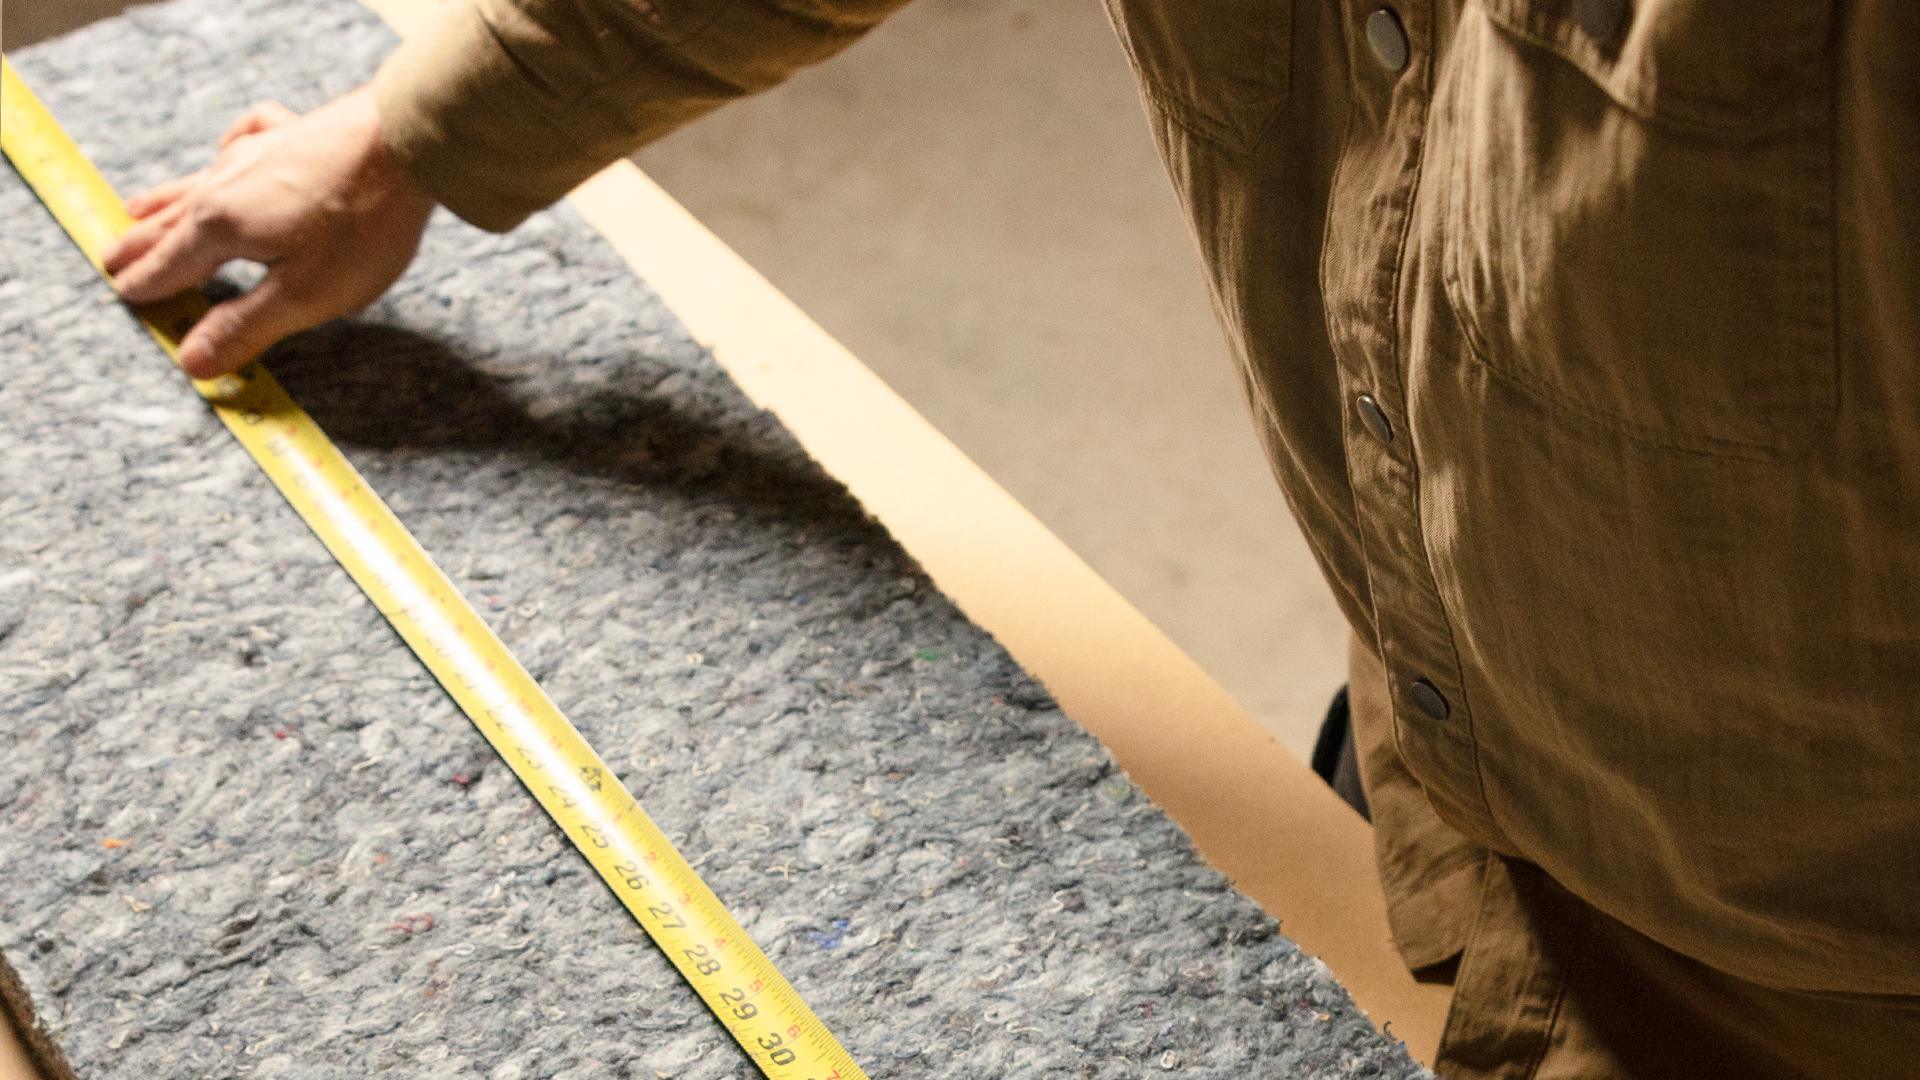
Once your new insulation is in place, it’s time to close the walls back up. Measure and cut drywall sheets to fit, securing them to the studs with drywall screws. Make sure each panel is snug for a smooth finish. After hanging the drywall, tape and mud the seams, then sand for a clean surface that’s ready to paint or finish. Reinstall any outlet covers and trim to complete the job—and enjoy a quieter, more comfortable space.
Should You DIY or Hire a Pro?
Some projects are great for DIY, but for others, professional help is worth it. Here’s how to decide:
- Hard to Reach Areas: Pros have the right equipment for tricky spaces like attics and crawl spaces.
- Health Concerns: If you’re sensitive to dust or fiberglass particles, professional installation is a safer choice.
- Precision Matters: Friction-fit insulation like Quiet Denim works best when installed properly to avoid air gaps.
- Warranty Protection: Many pros offer warranties that DIY projects don’t include.
Reinsulating Your House: Health, Comfort, and Eco-Friendly Benefits

Reinsulating your home isn’t just about lowering energy bills—it’s about making your home a more comfortable, healthier place to live.
Healthier Indoor Air
Unlike fiberglass, recycled denim insulation won’t release irritating particles, so it’s a safer choice—especially for families with allergies or asthma.
Better Soundproofing
Recycled denim insulation does a great job blocking noise, so your home feels quieter and more peaceful. Whether it’s traffic outside or noisy neighbors, that extra soundproofing makes a big difference in everyday comfort.
Long-Term Value
Some insulation costs more upfront, but it pays off over time. Friction-fit Quiet Denim insulation helps your heating and cooling systems work less, cutting energy bills—and it limits sagging and settling, so it keeps performing like it should for years.
Now’s the Perfect Time to Upgrade
Upgrading your insulation makes your home more comfortable and energy-efficient while cutting waste. With modern options that focus on performance and sustainability, reinsulating is an easy way to improve your space and lower your bills.
Upgrade Your Home with Quiet Denim: Comfortable, Efficient, and Eco-Friendly
Why put up with outdated insulation when you can switch to Quiet Denim? Made from recycled denim, it’s soft, effective, and eco-conscious. Ready to make your home quieter and more efficient? Start your insulation upgrade today. Contact us now to learn more about your options and get started!